How to Add Someone to a Photo (That Actually Looks Real)
Complete guide · 2026
Results that look like they were always real. No Photoshop, no cutouts — this guide shows you every method, and the one that actually works.
Try it free — no account neededWhy people use it
What are you trying to complete?
Every result below was made with this tool. Find your situation — the technique is the same, the emotion is yours.
Family · Memorial
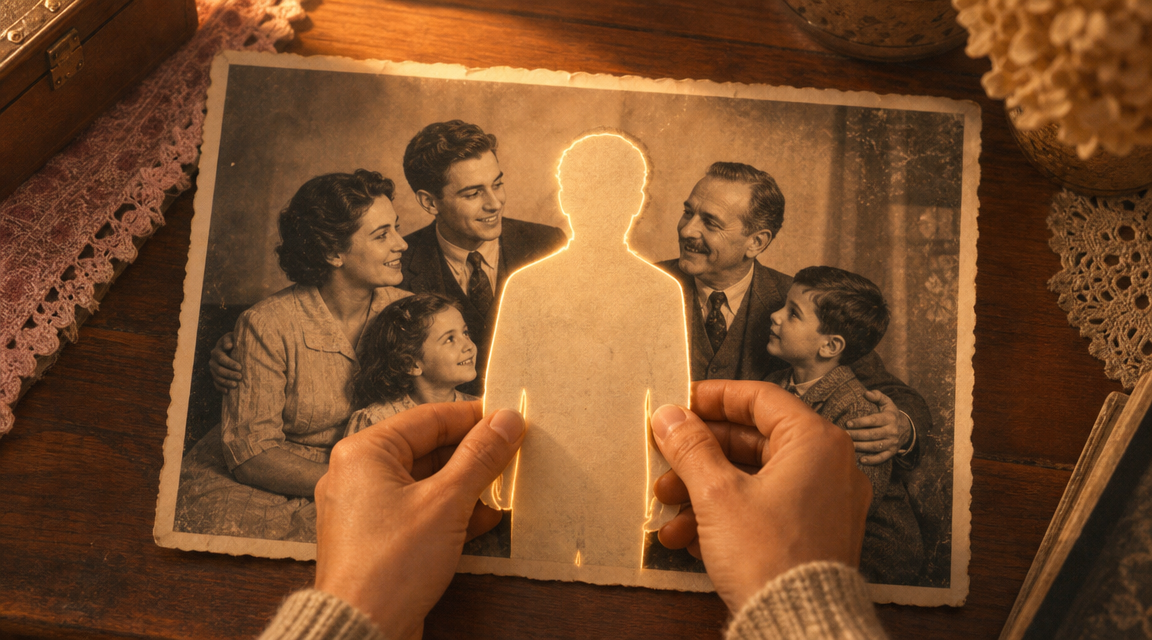
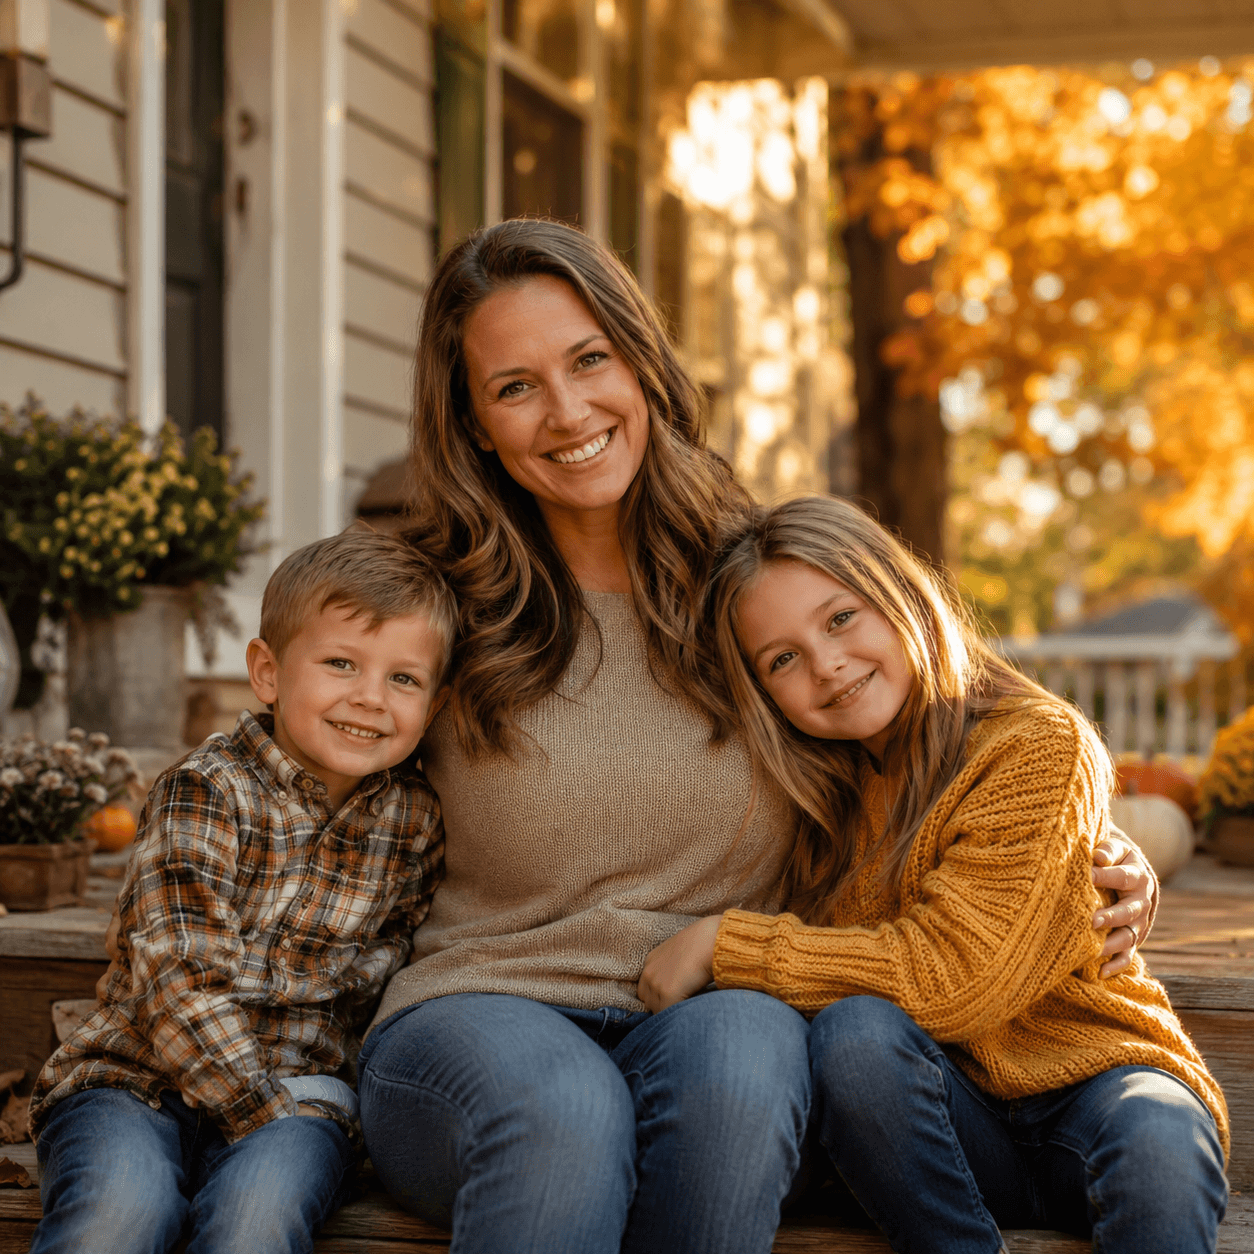
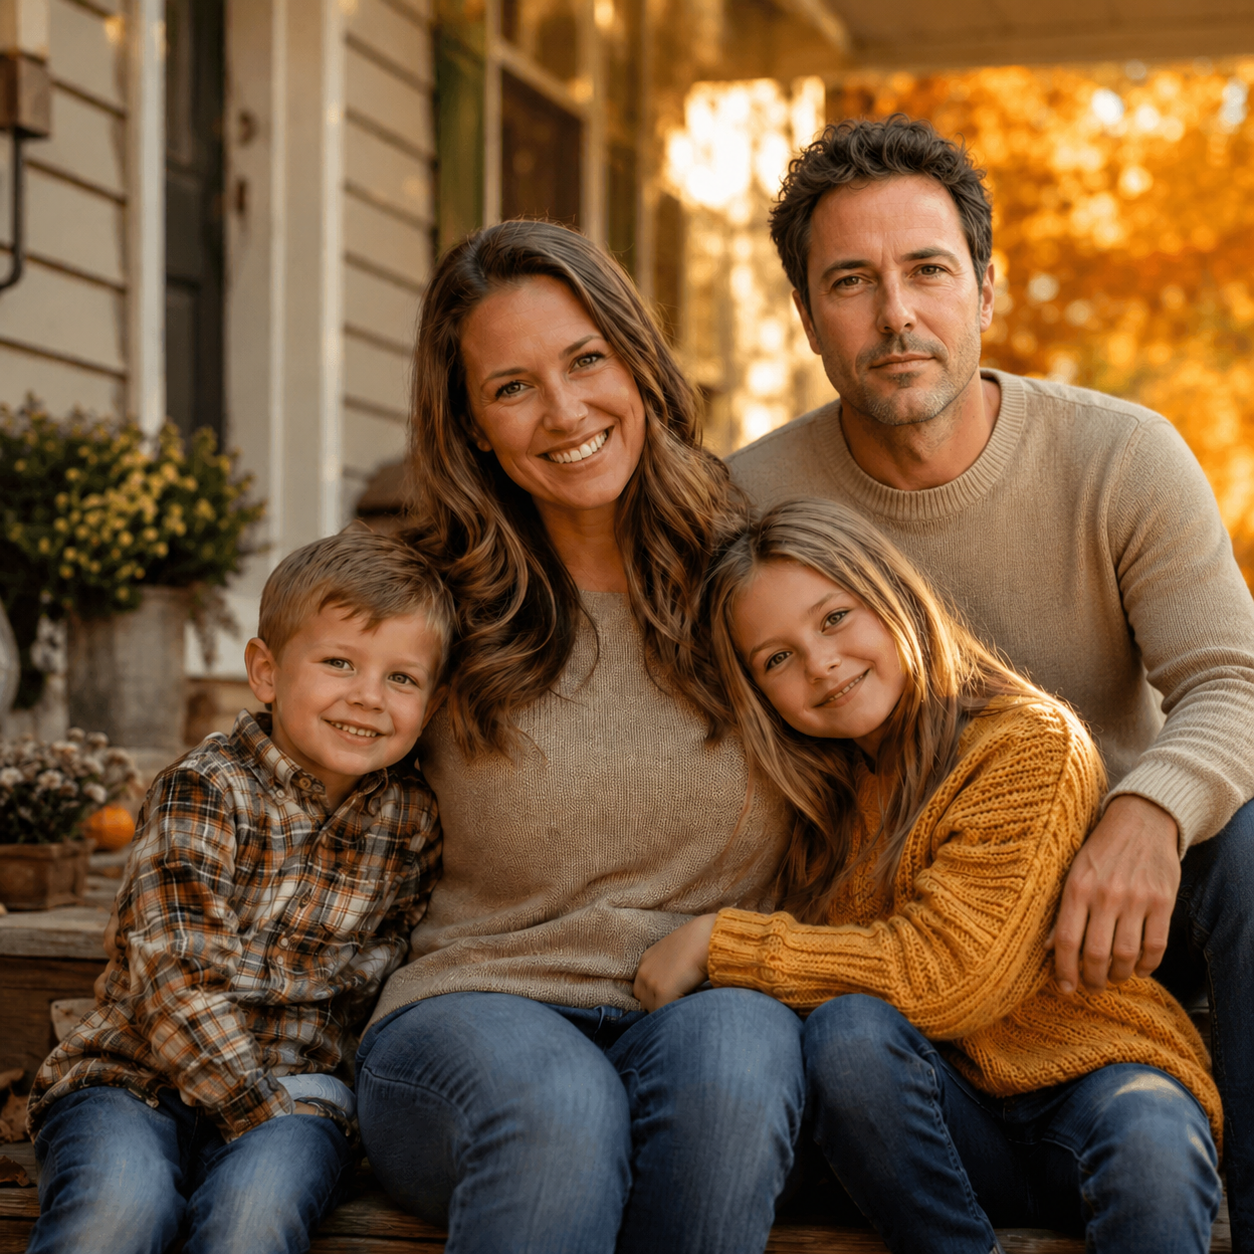
Reunite a missing dad
Golden-hour porch portrait. Father placed back into the family group, light matched perfectly.
 Before
After
Before
After
Family · Memorial
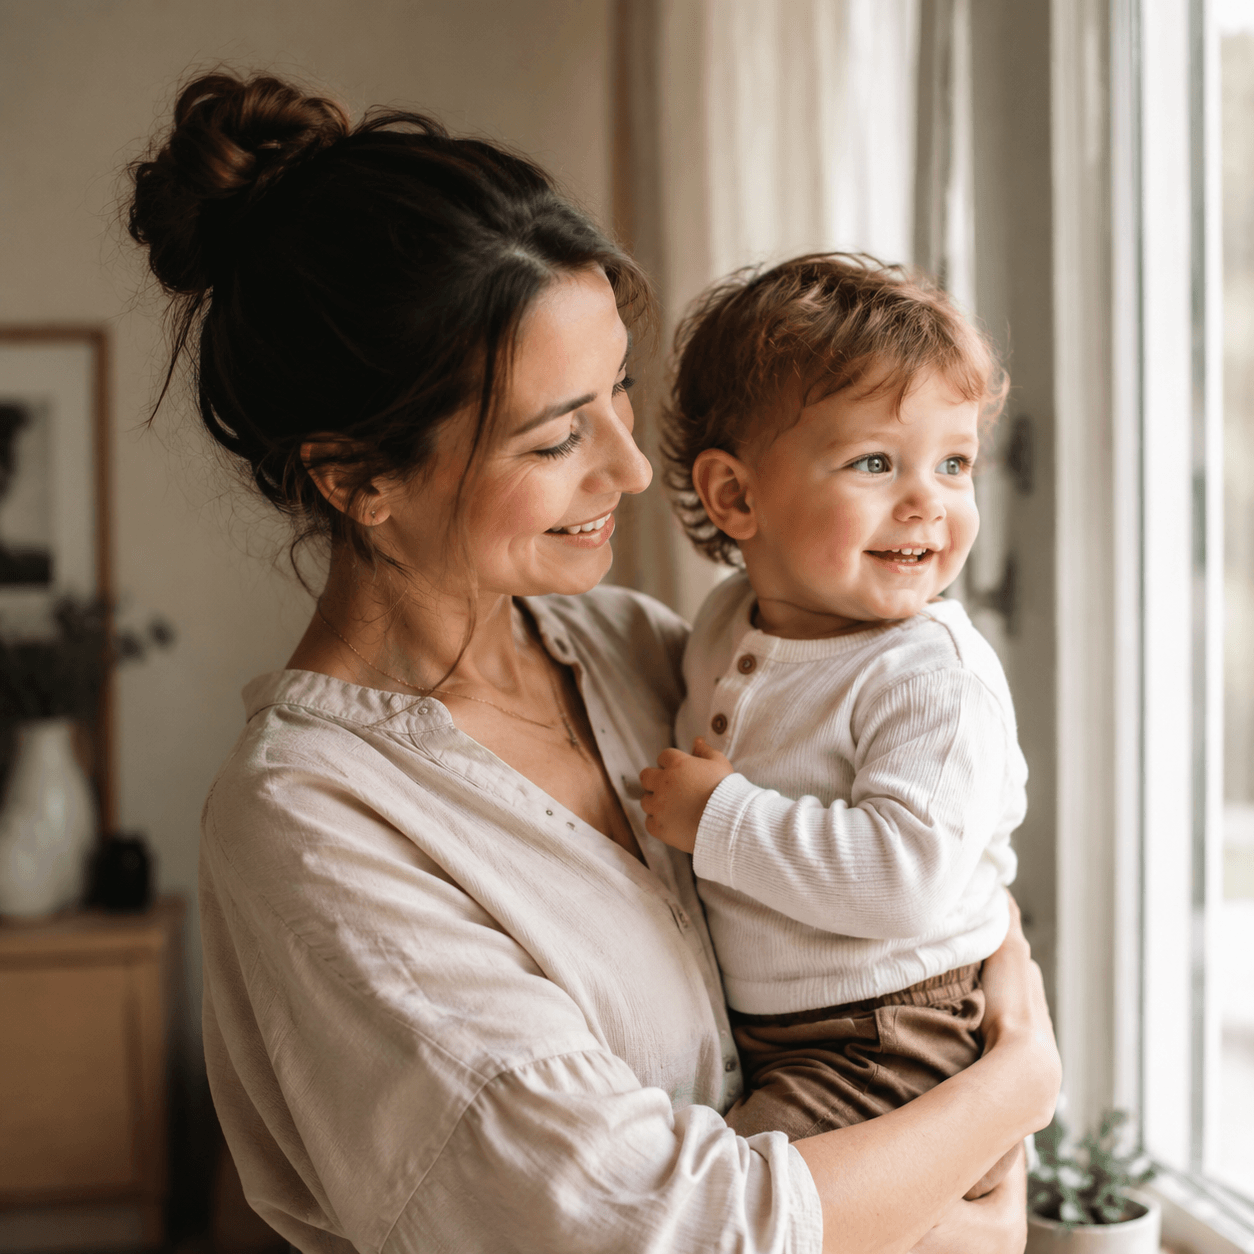
Honor a late grandmother
Three-generation indoor portrait. Grandmother added beside her grandchild — a keepsake she never knew existed.
 Before
After
Before
After
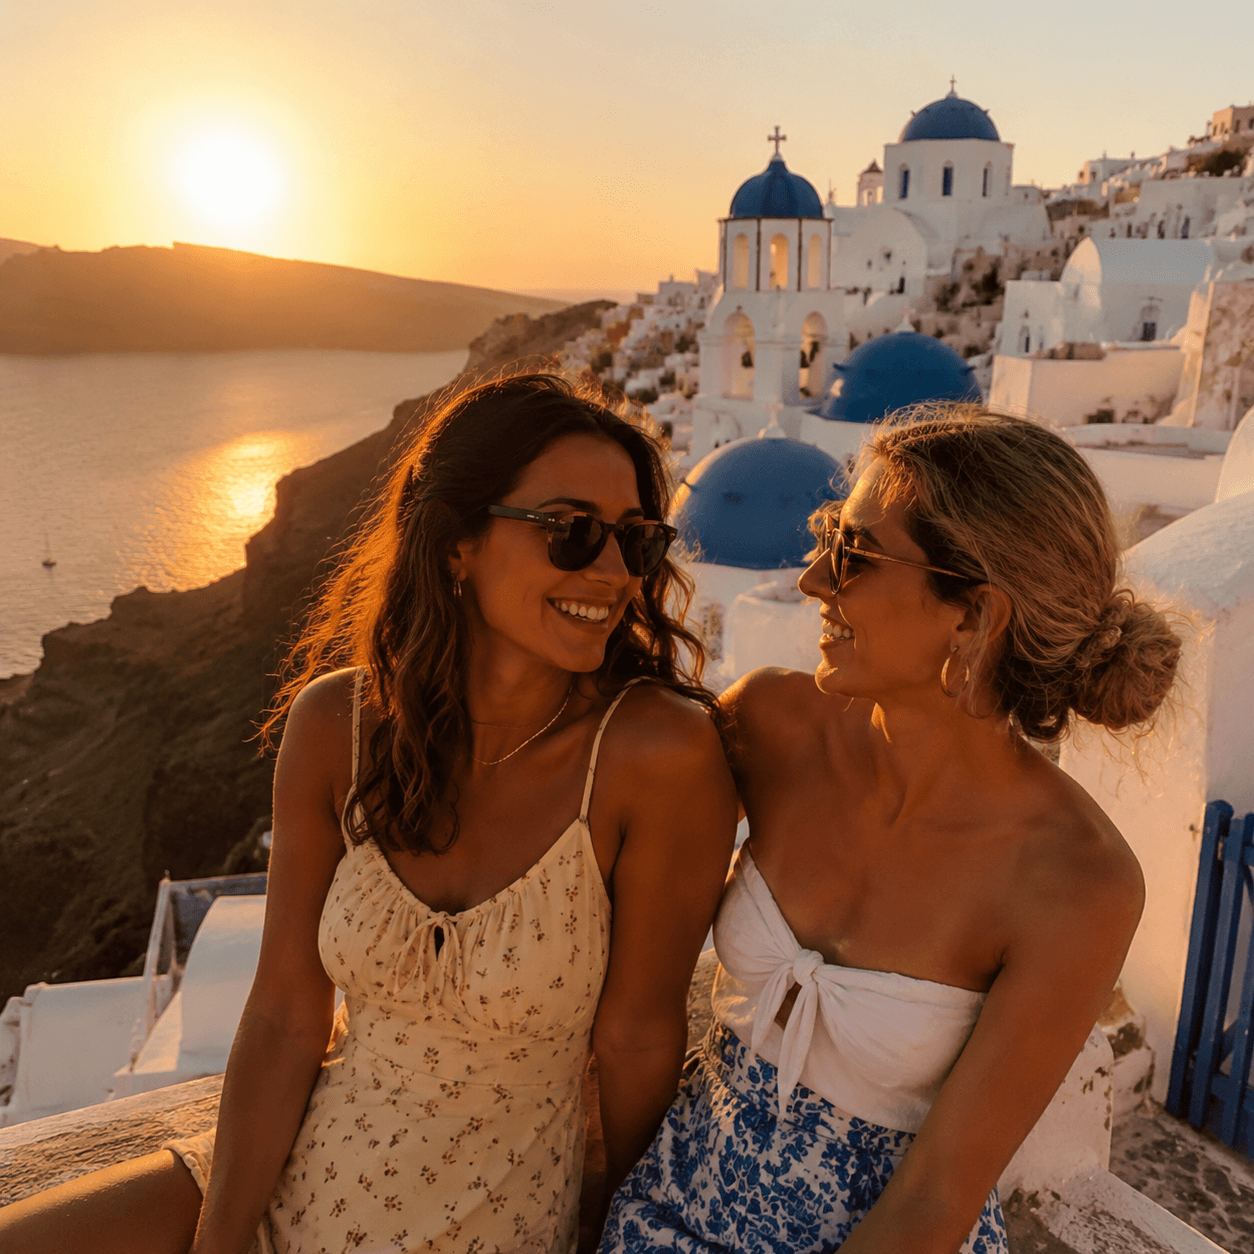
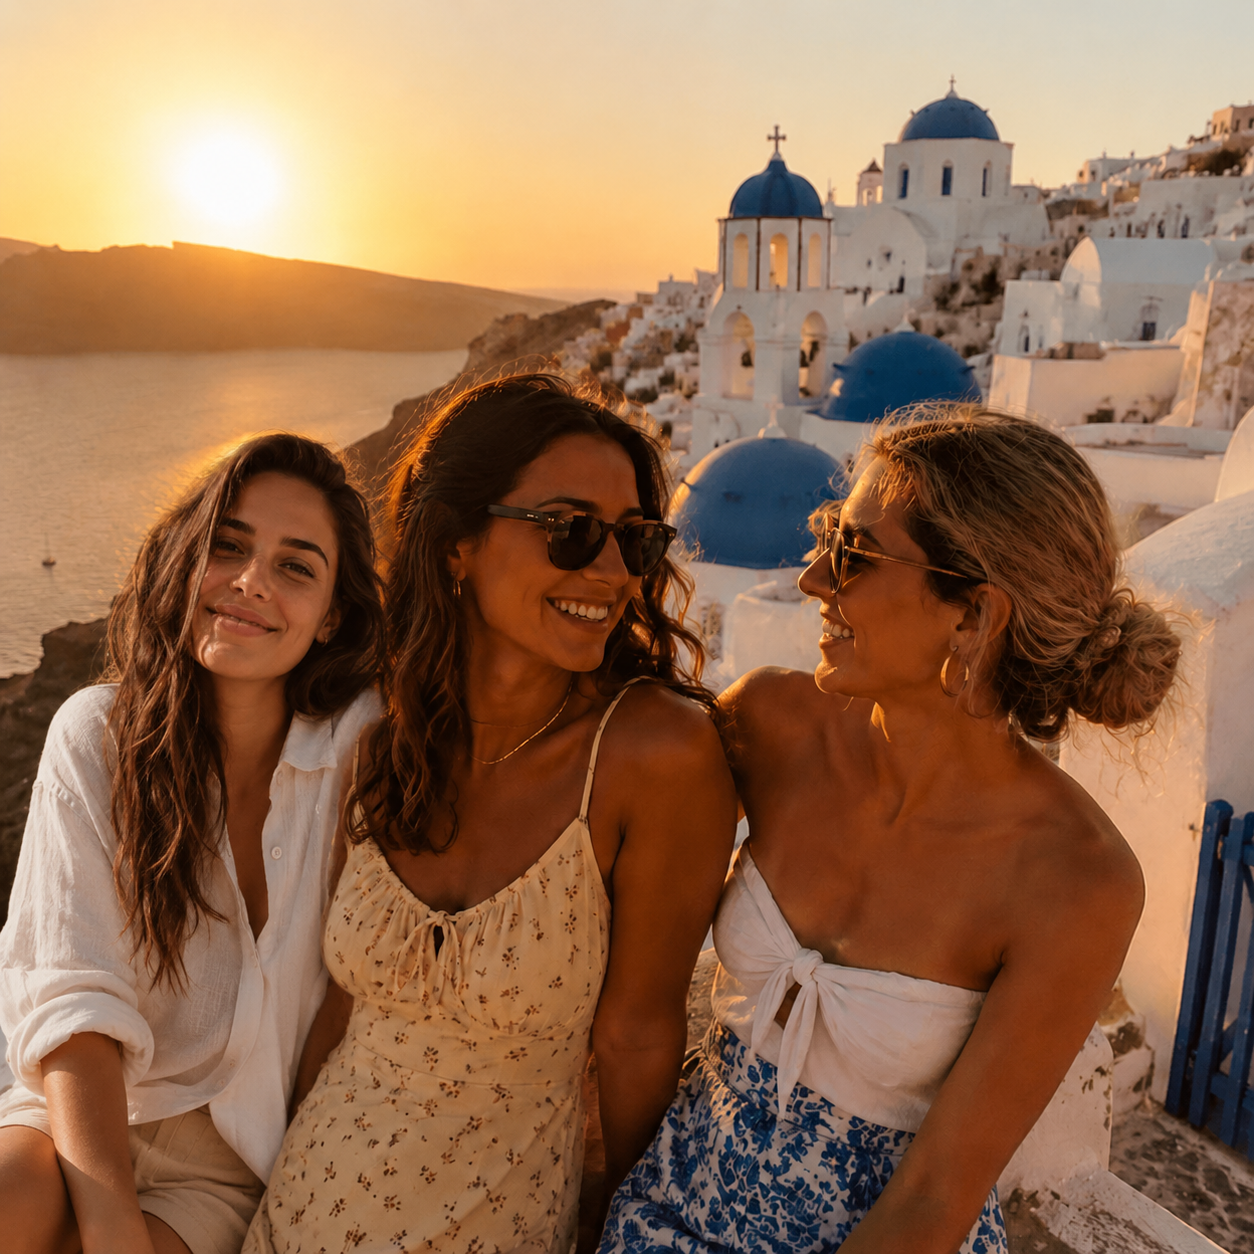
Travel · Friends
Add the friend who missed the trip
Santorini cliffs at sunset. Third friend stepped into the frame as if she was always standing there.
 Before
After
Before
After
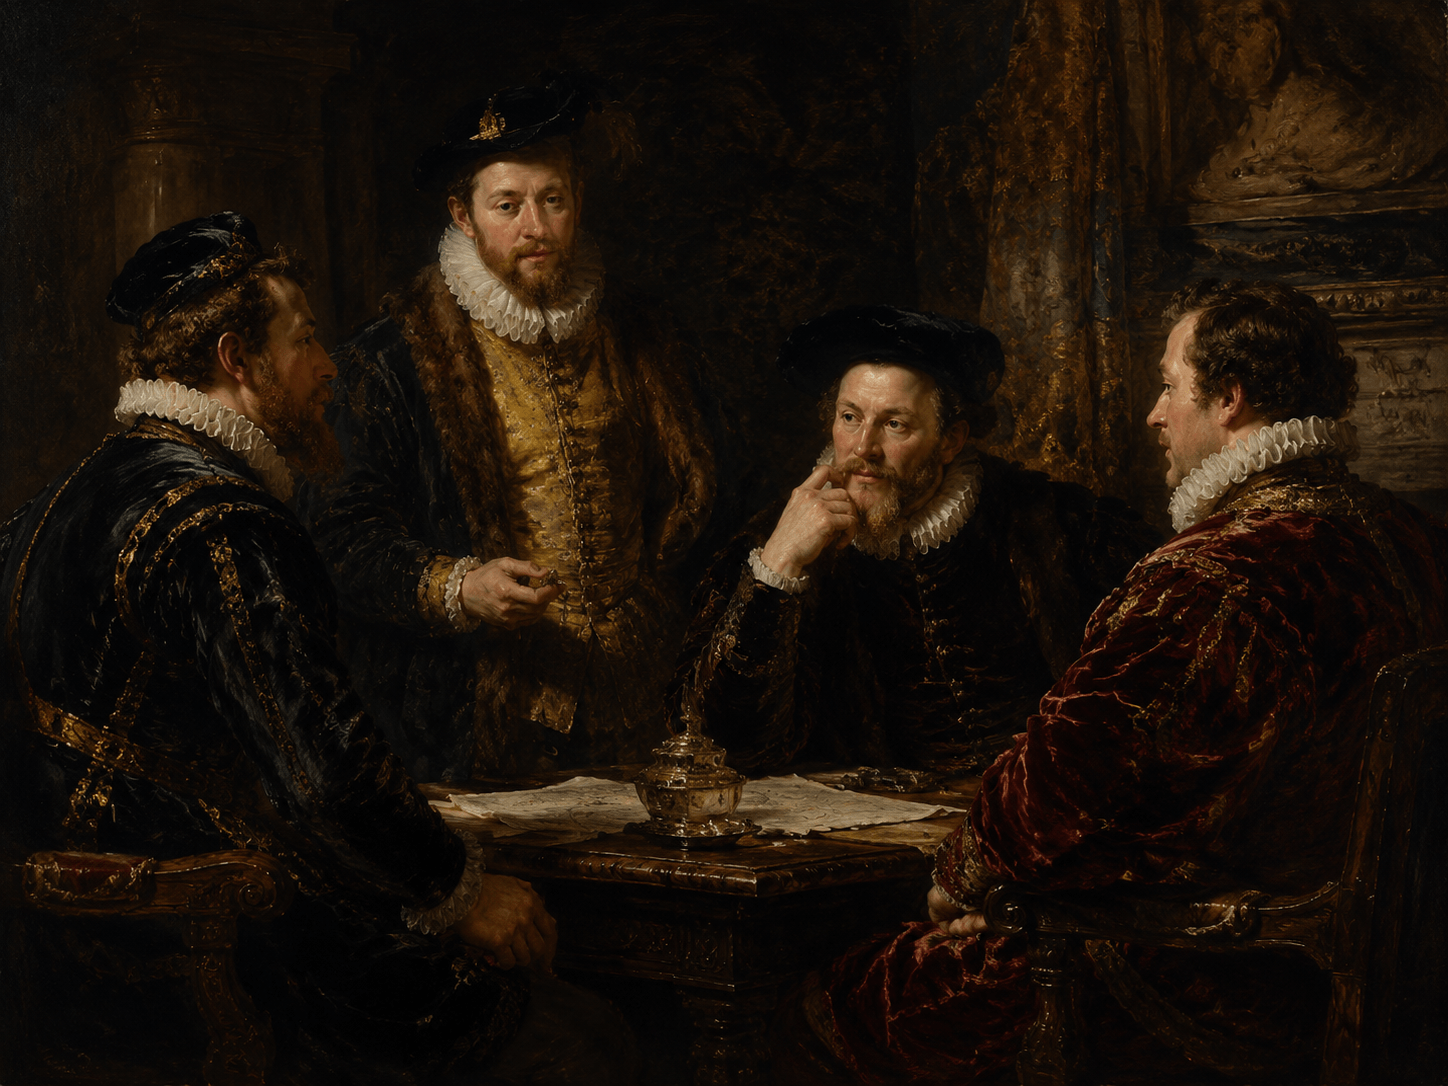
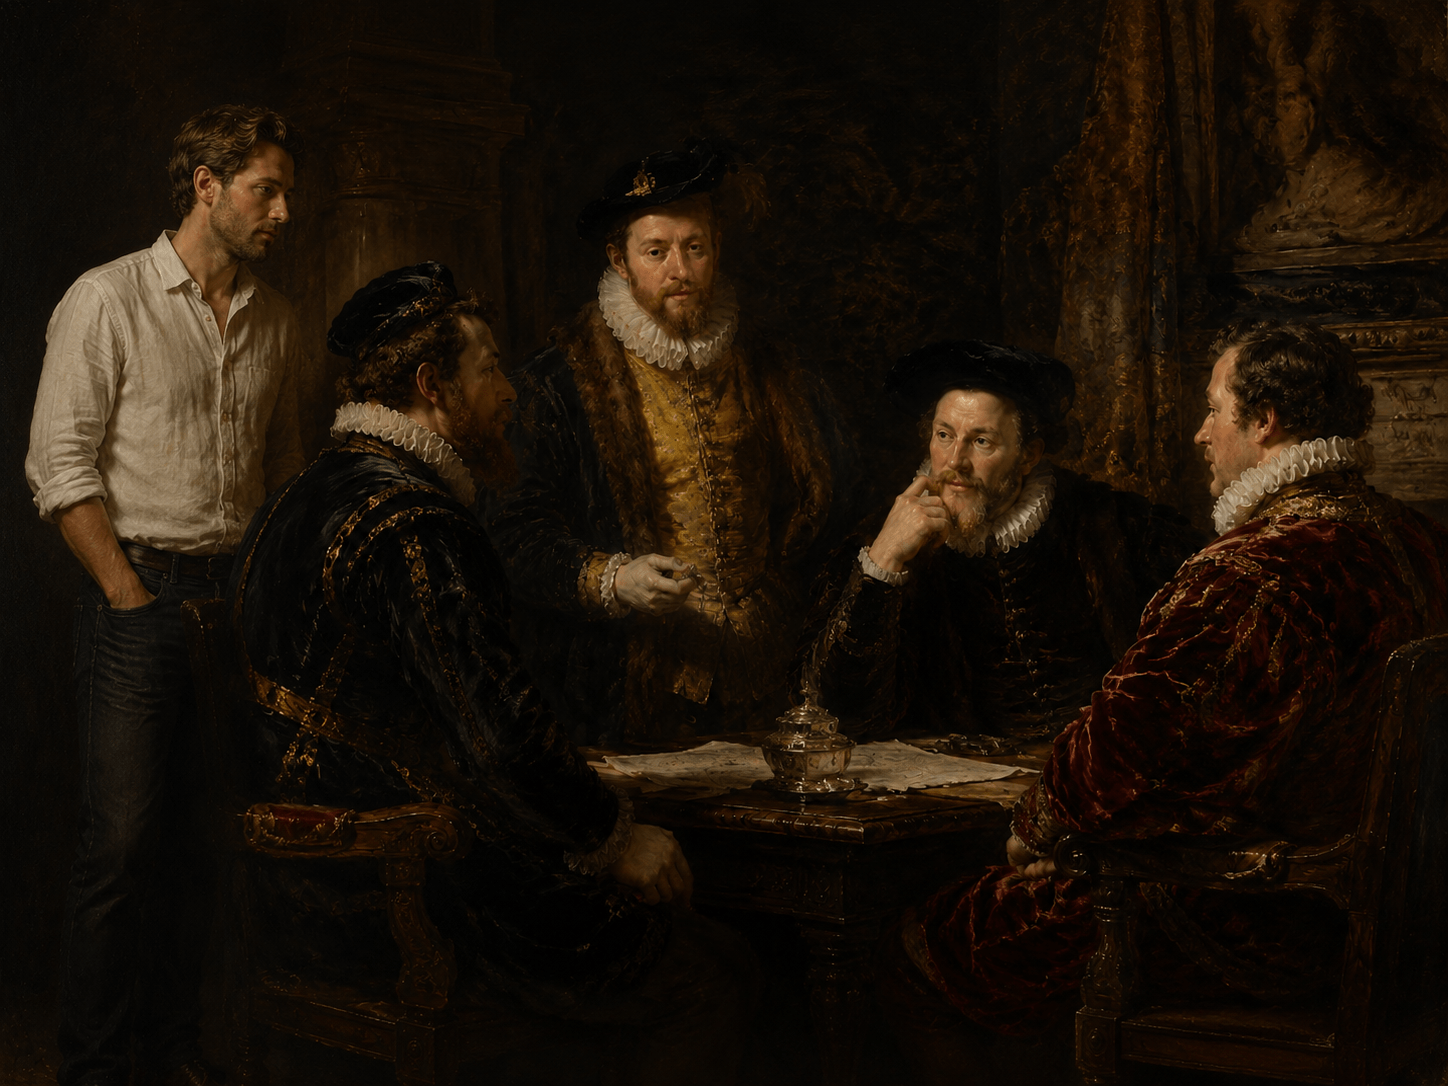
Creative · Fun
Add yourself to a painting
Renaissance oil scene. Person inserted among classical figures — style adapted, colors matched, era convincing.
 Before
After
Before
After
How it works
Three steps. Under two minutes.
The AI handles every technical detail — lighting direction, shadow softness, color temperature, scale, and perspective. You just provide the photos.
Upload your scene photo
Drop in the photo that's missing someone — a family portrait, group shot, or travel snap. JPG, PNG, and HEIC up to 4K all work. Leave the spot where the person will stand visually clear.
Add the person's portrait
Upload a clear photo of whoever belongs in the frame. The AI reads their face, skin tone, and body proportion to place them naturally into the scene.
Generate and download in HD
Click Generate. In under two minutes, a natural composite appears — lighting, shadow, and perspective matched. Download as PNG or JPG in your original aspect ratio, ready to print or share.
Get better results
What makes a good input photo?
Most imperfect results come from the input, not the AI. These are the things that actually matter.
Scene photo what to look for
- ✓ Natural or even indoor lighting — avoid harsh midday shadows
- ✓ Faces of existing people clearly visible
- ✓ Some open space where the new person will stand
- ✓ Horizontal (landscape) format for groups
- ✗ Heavy rim lighting or silhouette backlighting
- ✗ Extremely crowded frame with no visual breathing room
Person photo what to look for
- ✓ Front-facing or slight 3/4-angle portrait
- ✓ Face fully visible, not obscured by sunglasses or hats
- ✓ Even, soft lighting — overcast outdoor or indoor window
- ✓ Full-body shot if you want them standing in the background
- ✗ Strong backlight making the face dark
- ✗ Extreme profile angles (pure side-on)
Old or scanned photos work too — the AI adapts to age, grain, and faded color. Just ensure the face is recognizable.
Fine-tuning
Guide the AI with Extra Instructions
Paste any of these into the Extra Instructions field before generating. Most issues are resolved in one regeneration.
Control placement
Use when the AI places them in the wrong spot.
Add a natural interaction
Use when the people look unconnected.
Match an art style
Use for paintings, illustrations, or vintage film.
Fix scale or depth
Use when the person looks too large or too small.
Method comparison
AI vs Photoshop vs manual editing
Three ways to add someone to a photo. The right choice depends on your time, skill, and how natural you need the result.
| Method | Difficulty | Time | Looks natural? | Cost |
|---|---|---|---|---|
| AI tool (this site) | Beginner | ~2 min | Yes — lighting & shadow auto-matched | Credits from $9.90 |
| Adobe Photoshop (Harmonize) | Intermediate | 10–20 min | Yes, with effort | ~$22/mo subscription |
| Manual cut & paste (GIMP / Photopea) | Advanced | 20–40 min | Often looks "pasted on" | Free |
Questions, answered honestly
Frequently asked questions
How realistic does the AI result actually look?
Very. The model analyzes lighting direction, shadow softness, color temperature, and skin tone of the original scene, then matches them on the inserted person. Most results pass close inspection — no telltale cut edges, no color mismatches. See the before/after examples above.
Can I add a person who has passed away?
Yes. Many people use this to place a grandparent into a wedding they never got to see, or a parent into a graduation portrait. You just need a clear existing portrait — the AI handles the rest. The result is a keepsake that feels personal, not theatrical.
Do I need any photo editing experience?
None at all. Upload two photos, click Generate, and the AI handles every technical detail — lighting, shadow, perspective, and scale.
How long does each generation take?
Under two minutes. You can generate, review, and refine multiple times without long waits.
What makes a good input photo?
For the scene: good lighting, visible faces, and some open space. For the person: a front-facing or 45° portrait with even lighting. Full-body works best if you want them standing in the background. Old or scanned photos work too — the AI adapts to grain and faded color as long as the face is recognizable.
What if the first result doesn't look right?
Use the Extra Instructions field to guide placement, interaction, or scale (see examples above). Most issues are resolved in one regeneration. You don't need to re-upload — just adjust and generate again.
Ready?
Bring everyone you love back into the picture.
Upload two photos. Under two minutes. A result that looks like they were always there.
Try free — no account needed →